
Have you been following along with Marly Bird’s 24 days of Quickies? Every single day, 3 patterns are available as free downloads – some crochet, some knit. It’s a wonderful opportunity to grab some amazing patterns that, for the most part, are super quick to make!
Perfect for your last minute gift-making.
The free download is over BUT…
If you missed the free download, not to worry. You can still view the pattern below, or purchase an ad-free PDF on Ravelry.
About the pattern
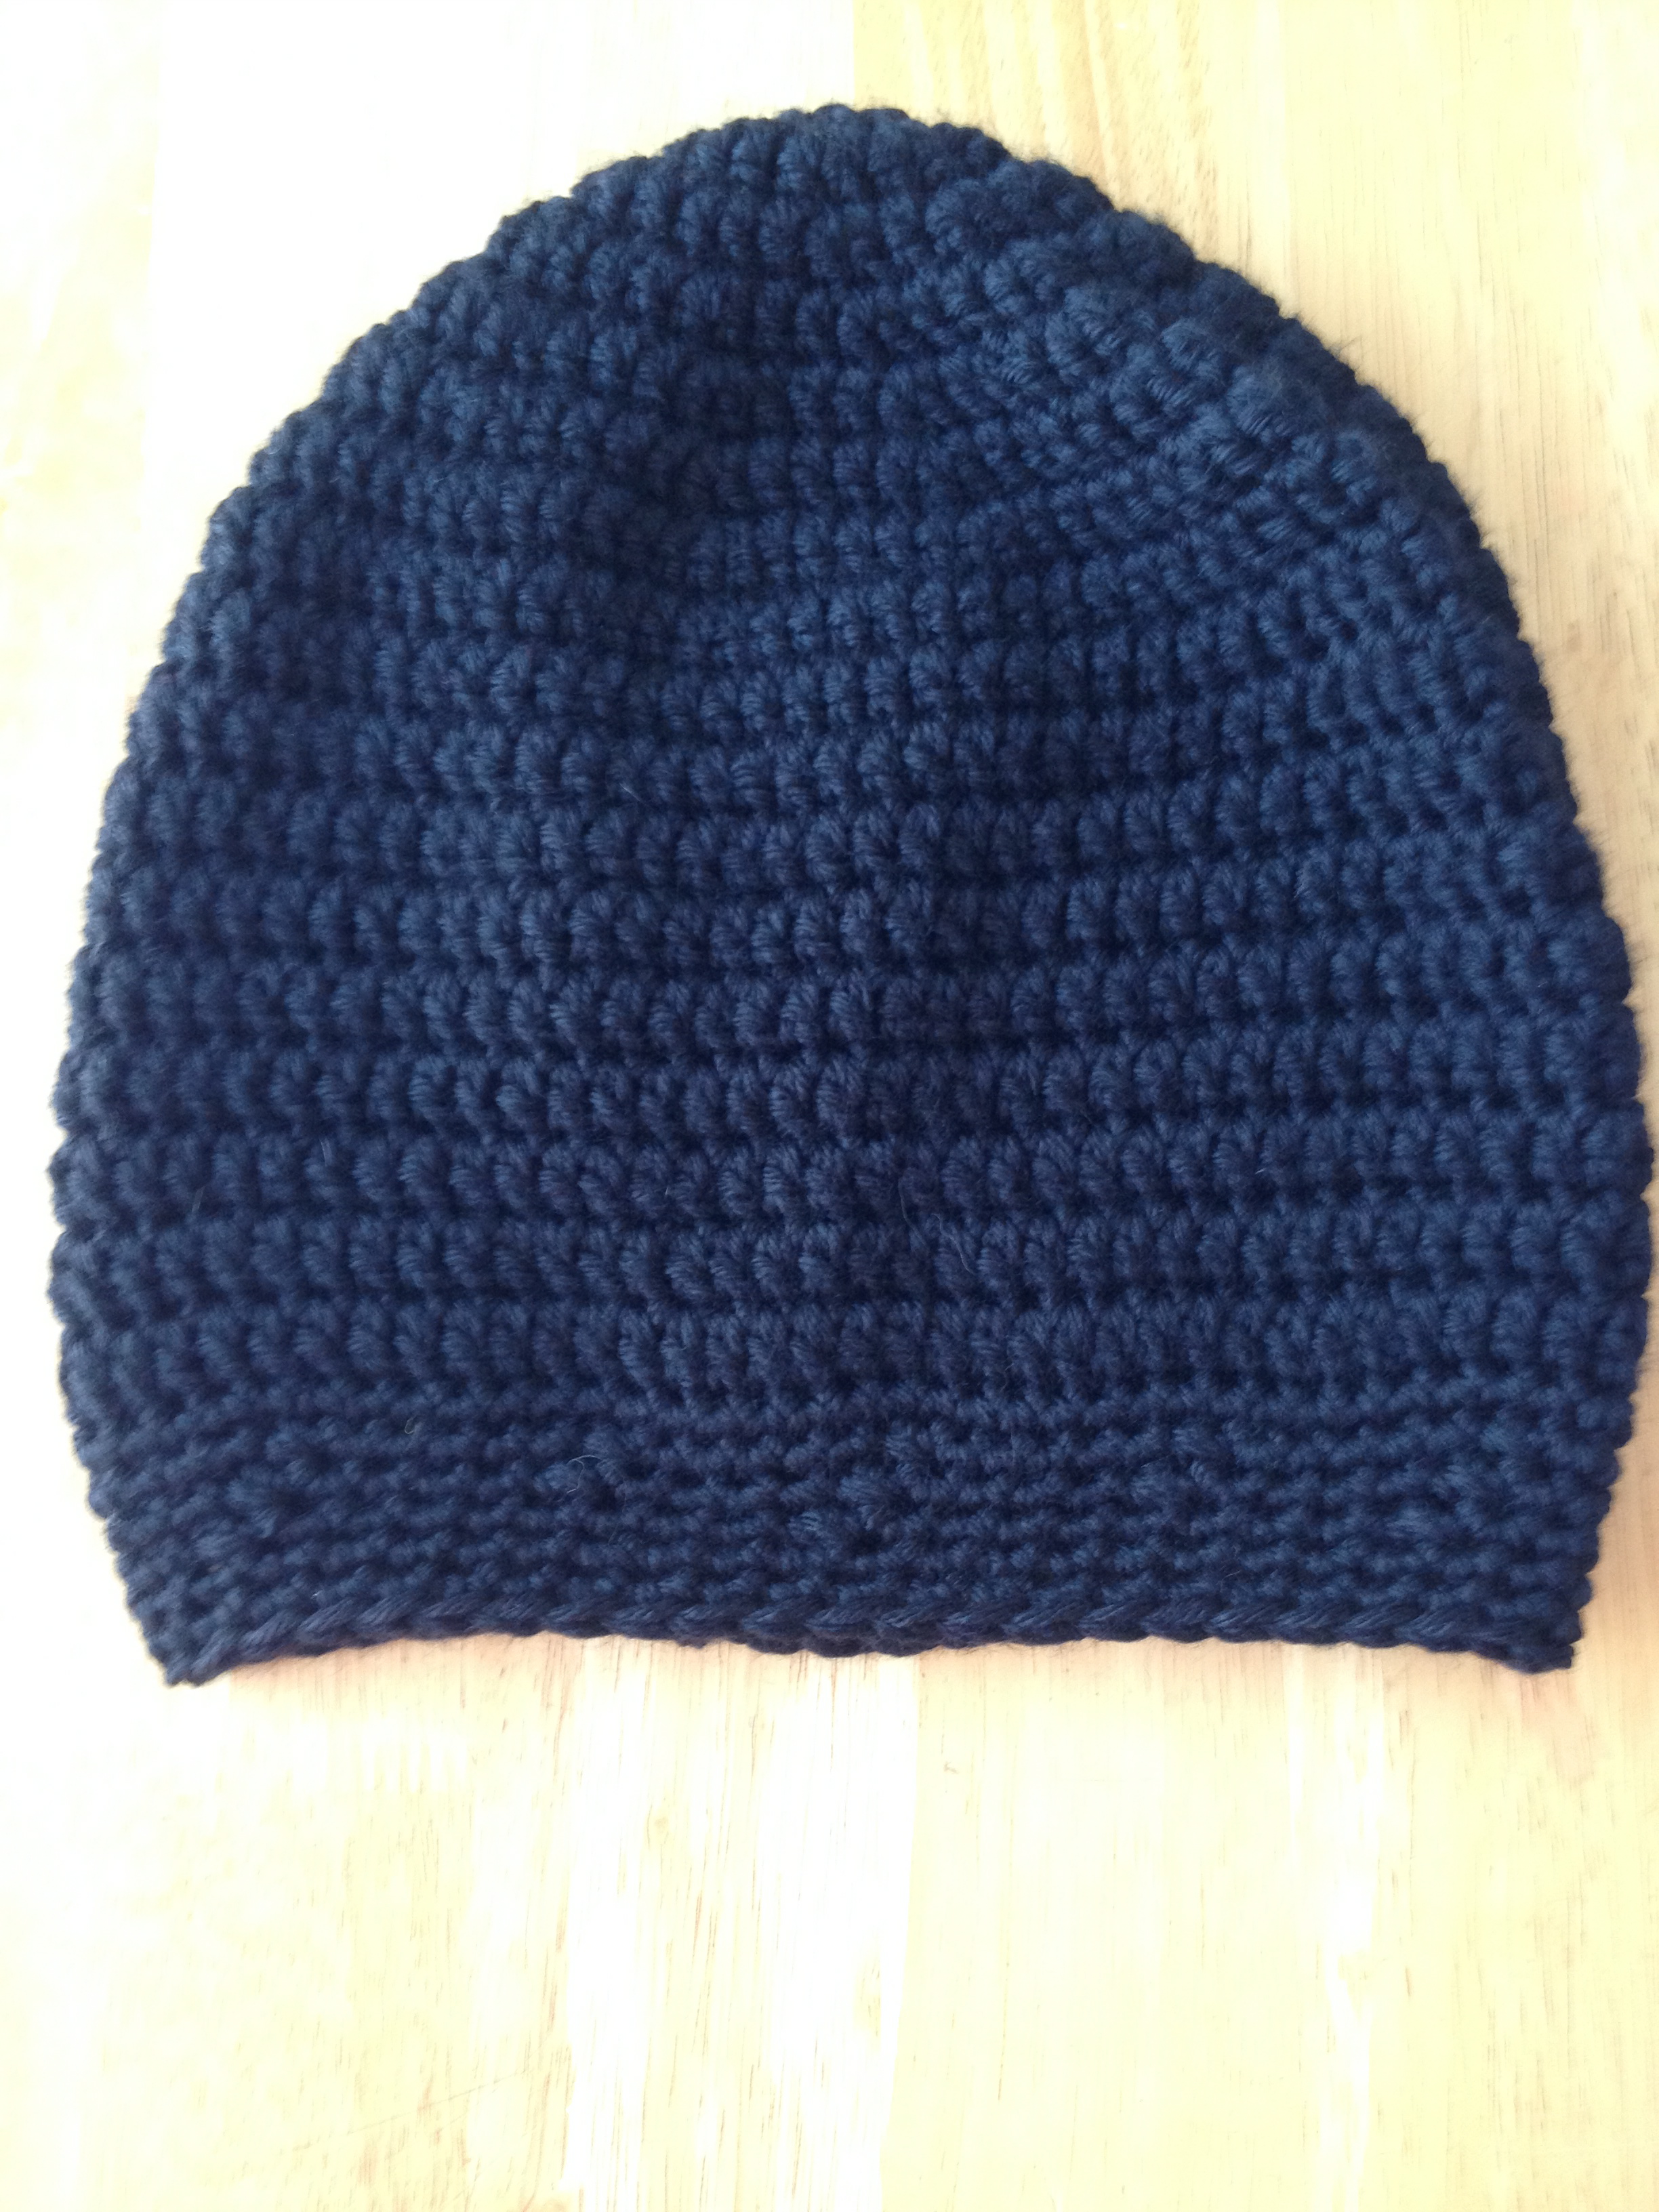
Do you like headbands? I do! They are such a fun alternative to a winter hat. And being doubled, your ears will stay warm with this one! Instructions are given for 3 sizes from Baby to Adult, with instructions to customize your fit.
Let’s dig in.
CHALET HEADBAND, FREE CROCHET PATTERN

MATERIALS
Artfil Yarn – Chalet, 50% Merino/50% Hemp – 50 g (131 yd/120 m)
25 g each of 2 colours.
Here: A-Citronella and B-Storm.
HOOK
NOTIONS
1 in to 2 in/2.5 cm to 5 cm button; yarn needle; stitch markers
GAUGE
11 sts and 8 rows = 2 in/5 cm
To check your gauge
Work in pattern until it is possible to measure work against information above. Adjust hook accordingly.
AVAILABLE SIZES
Head circumference (Width)
Baby-Toddler 14-18 in/36-46 cm (2 in/5 cm)
Child-Tween 18-21 in/46-53 cm (2.5 po/6.5 cm)
Adult 21-24 in/53-61 cm (3 in/8 cm)
STITCH GUIDE
blo… back loop only
ch… chain
hdc… half-double crochet
sc… single crochet
sl st… slip stitch
st… stitch
NOTES
The starting ch 1 does not replace the first st.
Two pieces are crocheted separately in rows and assembled with a finishing round.
Stitches worked in the back loop only are very elastic. For a headband exactly the size you need, repeat Row 2 of pattern until the piece measures 3 in/7.5 cm less than the head circumference.
INSTRUCTIONS
HEADBAND
With A, chain 10 (13, 15)
Row 1. Hdc in second ch from hook and in next 8 (11, 13) chs, turn. 9 (12, 14) hdc
Row 2. Ch 1, hdc in first st, hdc-blo in next 7 (10, 12) sts, hdc in last st, turn.
Rows 3-50 (3-64, 3-76). Repeat Row 2. At the end of the last row, finish off and weave ends in.
Repeat the instructions above with B.
ASSEMBLY AND FINISHING
Decide which colour will be the outside of the headband. This colour should face you at this step.
Place the 2 pieces together. With outside facing you, join same colour yarn through both thicknesses in the last stitch of the last row.
Round 1. Ch 1, sc in same stitch, ch 1 for corner, sc in next 50 (64, 76) row ends, ch 1 for corner, sc under 9 (12, 14) Row 1 sts, ch 1 for corner, sc in next 50 (64, 76) row ends, ch 1 for corner, sc in next 8 (11, 13) sts, sl st in first hdc. Finish off and weave ends in. 118 (152, 180) hdc + 4 corners
Tie (optional): With outside colour, ch 50 (64, 76). Finish off. Tie a knot at each end and cut excess yarn.
Sew button to outside of one end, through both thicknesses. Weave tie through the other end, so that its ends are on the outside at approximately 1 in/2.5 cm from the edge and with 1 to 3 sts between them. Wrap tie around button and knot to secure. Cut excess or not, as you prefer.
Alternatively sew button through both headband ends.
If you like this pattern, share the link with your crochet friends and groups!
xo Julie


